Table of Content
This silicone produces great surface detail on moulds, and has a high tear strength and excellent flexibility. It can be used many, many times to produce your replica resin castings. Silicones and casting resins can be loaded into the chamber and put under vacuum to expand and expel trapped air.
Remember to cover the original by 10 mm or more, then leave to cure for around 24 hours. Scrape the sides and bottom of the pot to ensure a thorough mix and keep going until the silicone is a consistent colour. First weigh out the required amount of silicone into a mixing cup using digital scales. Oh, I forgot yo say, I keep the nail polish remover handy for the exact same reason. Have never managed to super glue anything yet without gluing myself in the process. Take a look at the original 'Ible, and some of the others.
Will hot glue stick to a silicone mold?
Buy a tube of pure silicone from a home improvement store; it usually comes in a syringe-like container. Squeeze some of the silicone out into a disposable dish. You will need enough to cover whatever you wish to mold.
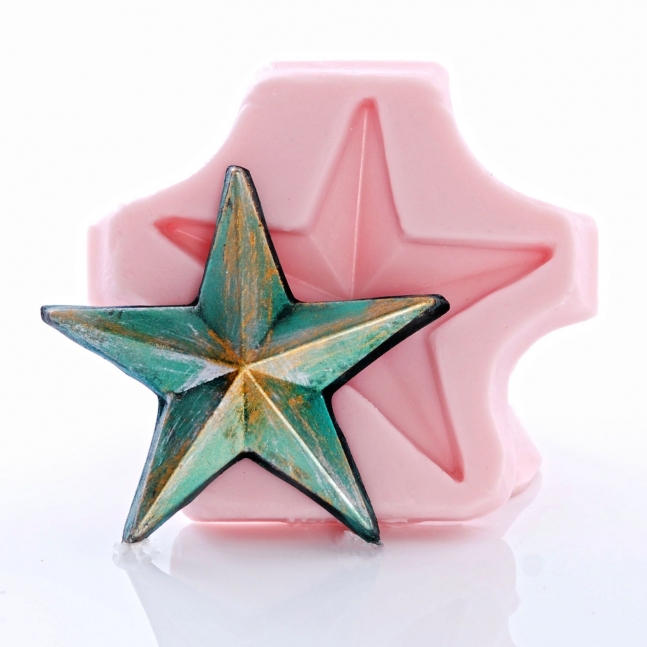
What’s more, these are easier to work with as the cavity of the mold is within the silicone. Removing it is easy too, simply pull each piece of the mold from the end-use material to get the resulting casted piece. As a result, the resulting pieces created from a one-piece mold have a flat side to replicate this flat surface.
Does mold stick to silicone?
For example, silicone masses with different viscosities are available, i.e. thin or thick silicone. Want to discover more techniques and applications for silicone mold-making? Download ourSilicone Molding for Product Design white paper. At the end of the day, there’s no one right way to make products, whether they’re food, figurines, or commercial components.
Fill the mold with clay, then pull the clay out, and let it dry. You can also try to use resin in this mold as well, but let it cure and harden first. Make sure that you are pressing the item with the design side face-down into the putty. Gently press the edges of the mold against the item so that no gaps remain. The consistency of silicone allows it to bend and be plied easier than other materials. This makes the removal of silicone from the cast piece a simple matter of peeling it away.
Does vinegar kill mold on silicone?
When the silicone is fully cured, your piece can easily be removed from the mold. As you can see, making your own silicone molds for baking is a cinch. All you need is a silicone solution kit to mix the necessary ingredients, a model, and a container.
The reason for that is that most metals are not very porous, and silicone needs a porous surface in order to be able to create a strong bond. Furthermore, most metals have a layer of oxidation on their surfaces which acts as an additional barrier to silicone adhesive. When the silicone is completely cured, the release agent is peeled away from the cured silicone. You can place the object that you wish to make a cast out of at the bottom of your container. Once you have everything in place, it’s time to mix your solution. If there’re any seams on the empty container, make sure to seal them with tapes to prevent liquid rubber from leaking.
Other Materials Required for Making your own Silicone Mold
Greasing the molds with a cooking spray or butter is the easiest way to make sure your items won’t stick. Make sure to spray all the nooks and crannies to ensure your item will slide out of the molds without any problems. Hot glue can stick to a silicone mold, however it is not the most ideal solution as silicone has very little adhesion. It is best to use a glue specifically designed for the surface.

Two common cases are when the mold is in contact with food items or direct skin contact. Now you have two molds that are essentially two halves of the whole master. To use it, join the two halves together and pour in the end-use material be it clay, wax, or concrete. Pour in the silicone and allow it to set around the exposed half of the master. Extract it by removing the bottom layer of the housing. The clay, master, and silicone should come out easily; it is okay if they separate from each other during this process.
However, more complex silicone products can take anywhere from 3 days to a few weeks to complete. In addition, if a silicone surface is not adequately sealed or cured then mould can find its way in and begin to grow. Finally rinse it off with lukewarm water and dry it completely before use. Another method involves spraying the molded silicone with equal parts white vinegar and water, then using a scrubbing brush to remove the mold. Additionally, the use of oxygen bleach, such as OxiClean, mixed with water and applied to the silicone can be effective at eliminating mold. To prevent silicone bakeware from sticking, it is important to use a silicone-safe non-stick cooking spray or oil such as olive, canola, vegetable, or coconut oil.
Now coat the mold with Vaseline so that both halves of the mold can be easily separated later. In the last step, pour liquid silicone into the frame once more and let it harden again. After you have stirred the mass in the cups, tap the bottom of the cups gently on the tabletop several times in a row to release air bubbles.


No comments:
Post a Comment