Table of Content
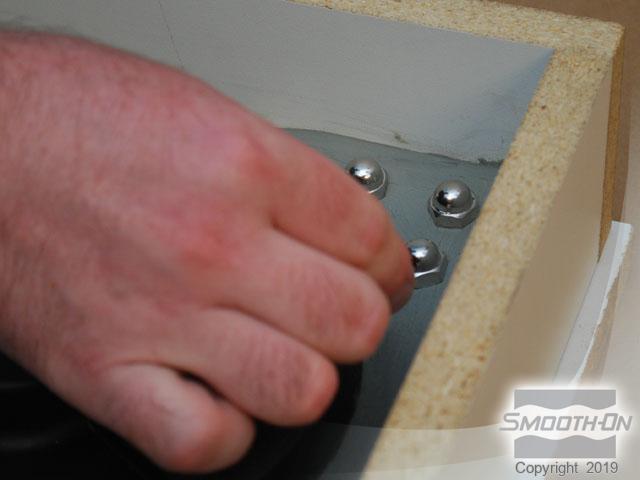
This should completely enclose the object you want to duplicate and be as tight as possible to prevent silicone from passing through. Silicone rubber does not repel glass, so removing it can be a real nuisance. It is therefore also advisable to use smooth wood for the base plate.
While it can bond to some metals, such as aluminum and stainless steel, under the right conditions, in most situations it is not able to form a strong bond. All of these steps should be followed to ensure that the mold properly releases the contents without sticking. Ensure that your vessel or container doesn’t have any elements that could contaminate your food or interfere with your silicone’s ability to set. We recommend making your container out of foam board and clay. Check out this detailed video about how to make food-grade molds or keep reading for further instructions.
Epoxy Grout for Paving Stones – Creating Professional Pavement Joints
You may have some cornstarch leftover in your dish; this is fine. The silicone will have picked up all the cornstarch it needed. Silicone will never turn rock-solid; it will always remain flexible. Simply wait a few hours for the silicone to turn rigid enough so that you can still flex it, but no longer dent it. Construction silicone may also be labeled as silicone caulk. At the end of the day, there is no right or wrong way to go about using molds; experimentation is the beauty of DIY tasks.

The most commonly used materials for candle molds include silicone rubber, plastic, and metal. Metal molds last the longest but lack creative shapes and sizes. More importantly, it’s nearly impossible to make your own metal molds at home. However, just like metal molds, you’ll find it difficult to make one at home. Making your own silicone molds opens up a new realm of baking possibilities, and it’s not too challenging – especially if you use premade models. With the right mixing kit, a container, and a model, you can create some amazing silicone molds for baking at home.
A Guide on How to Make Silicone Molds
Bridge production is faster than traditional manufacturing methods and is useful for products where the volumes are low or the design may need to change. Watch this webinar to learn how to switch from 3D printing to mid vol casting to injection molding. Silicone withstands temperatures from -65° to 400° degrees Celsius.

In this article, we will show you the brief steps to making your own molded candles. You’ll be able to gently pull the edges of the silicone away from the object and pop the object out of the mold. Push the object you’re making a mold of into the silicone.
Introduction: Simple Silicone Mould - How to Make Your Own
These health effects can worsen over time, as the mold continues to grow and spread. Additionally, black mold can cause structural damage to the property if it is not removed, as it can degrade wooden structures and wall materials. Greasing the pan or mold with a cooking spray or oil before each use will further reduce the chances of sticking. Silicone molding generally requires minutes in order to fully harden, though the exact time frame may vary depending on the specific silicone used. Silicone is available in a variety of forms, each with a different curing time depending on whether it is a condensation, tin or platinum cure.

Silicone for mold making is readily available, and by following the instructions to make a silicone mold you can create molds for several at-home uses. If you are making a two-part mold, you should remove the clay, leaving just the mold with the pattern still half sticking out. Return the mold to the container the other way up, so the pattern is protruding upwards.
Working The Silicone
Once you have a pattern, you can get started with making your silicone mold. You need enough silicone to cover your items by ¼ inch (0.64 centimeters). You may also find construction silicone labeled as silicone caulk.
This will ensure that every crack in the mold is also shown. Making molds from silicone is not as difficult as it may sound. With our step-by-step instructions you can make a great silicone mold, even if you are a beginner.
You’ll need the silicone to cover the object’s front and sides. Place the silicone tube into the caulking gun and secure it into place. Squeeze the trigger of the caulking gun to add enough silicone into the bowl of water so that the silicone will cover the object you’re molding.
If making a pattern from scratch, there are three different methods that can be used. You will also need to prepare your work area and yourself according to the product instructions. Ge silicone is different and will not cure the same with corn starch.
Next, remove the item from the mold by peeling the silicone away from it. As the silicone is now fully flexible the object should be removed easily. Additionally, liquid glycerin or cornstarch is a suitable alternative to using liquid soap. These will both cause the silicone to clump up better when it is mixed in. If you decide to go the cornstarch route, add in twice as much to act as the bonding agent. The amount of time that it takes to mold silicone can vary depending on a variety of factors, such as the complexity of the product.
The heat resistance as well as the food safety are important if you want to bake or make chocolate with your own mold. See and feel a high-resolution 3D printed master firsthand. Place overlapping strips of tape over the top of the box. Cut several long strips of packaging tape, and lay them across the top.
For large undercuts it is best to make a two-part or even multi-part mold. When removing the blank, be careful not to overstretch the silicone and choose soft silicone rubber. If the object has many angles, corners and edges, first pour a thin stream of silicone mass over them and then pour the rest into the frame.


No comments:
Post a Comment